Golf Course
Ellesmere 2025
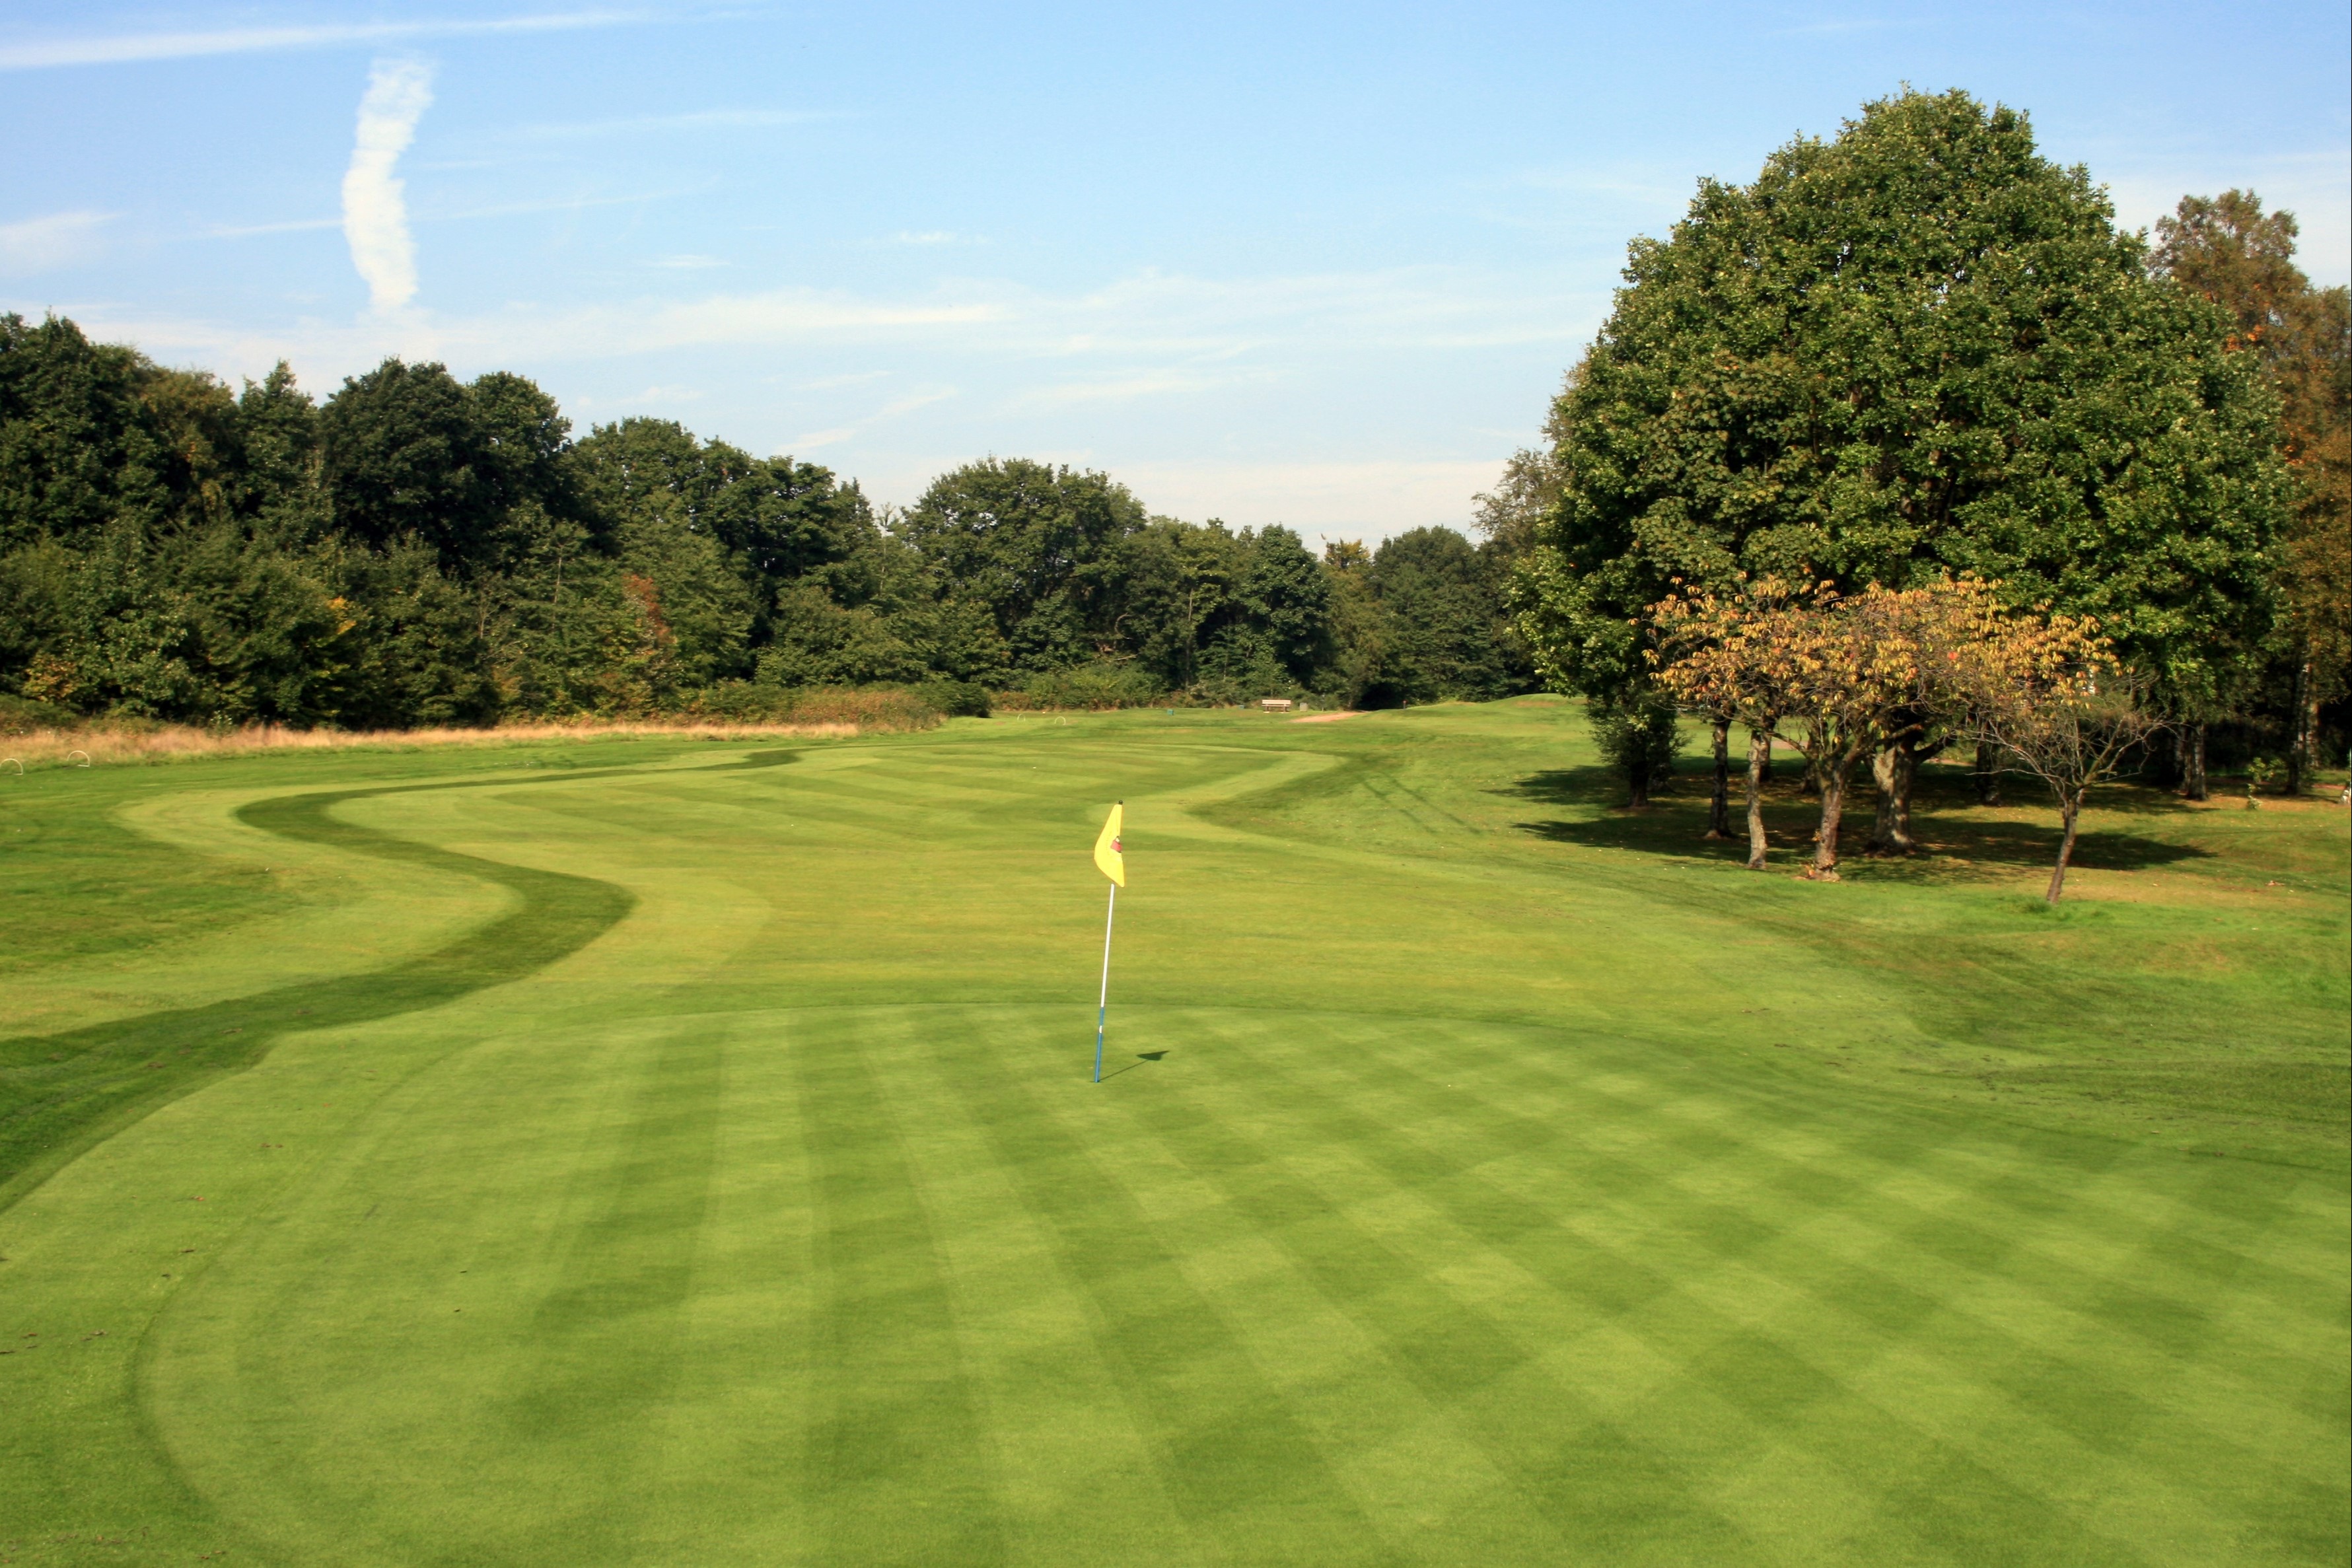
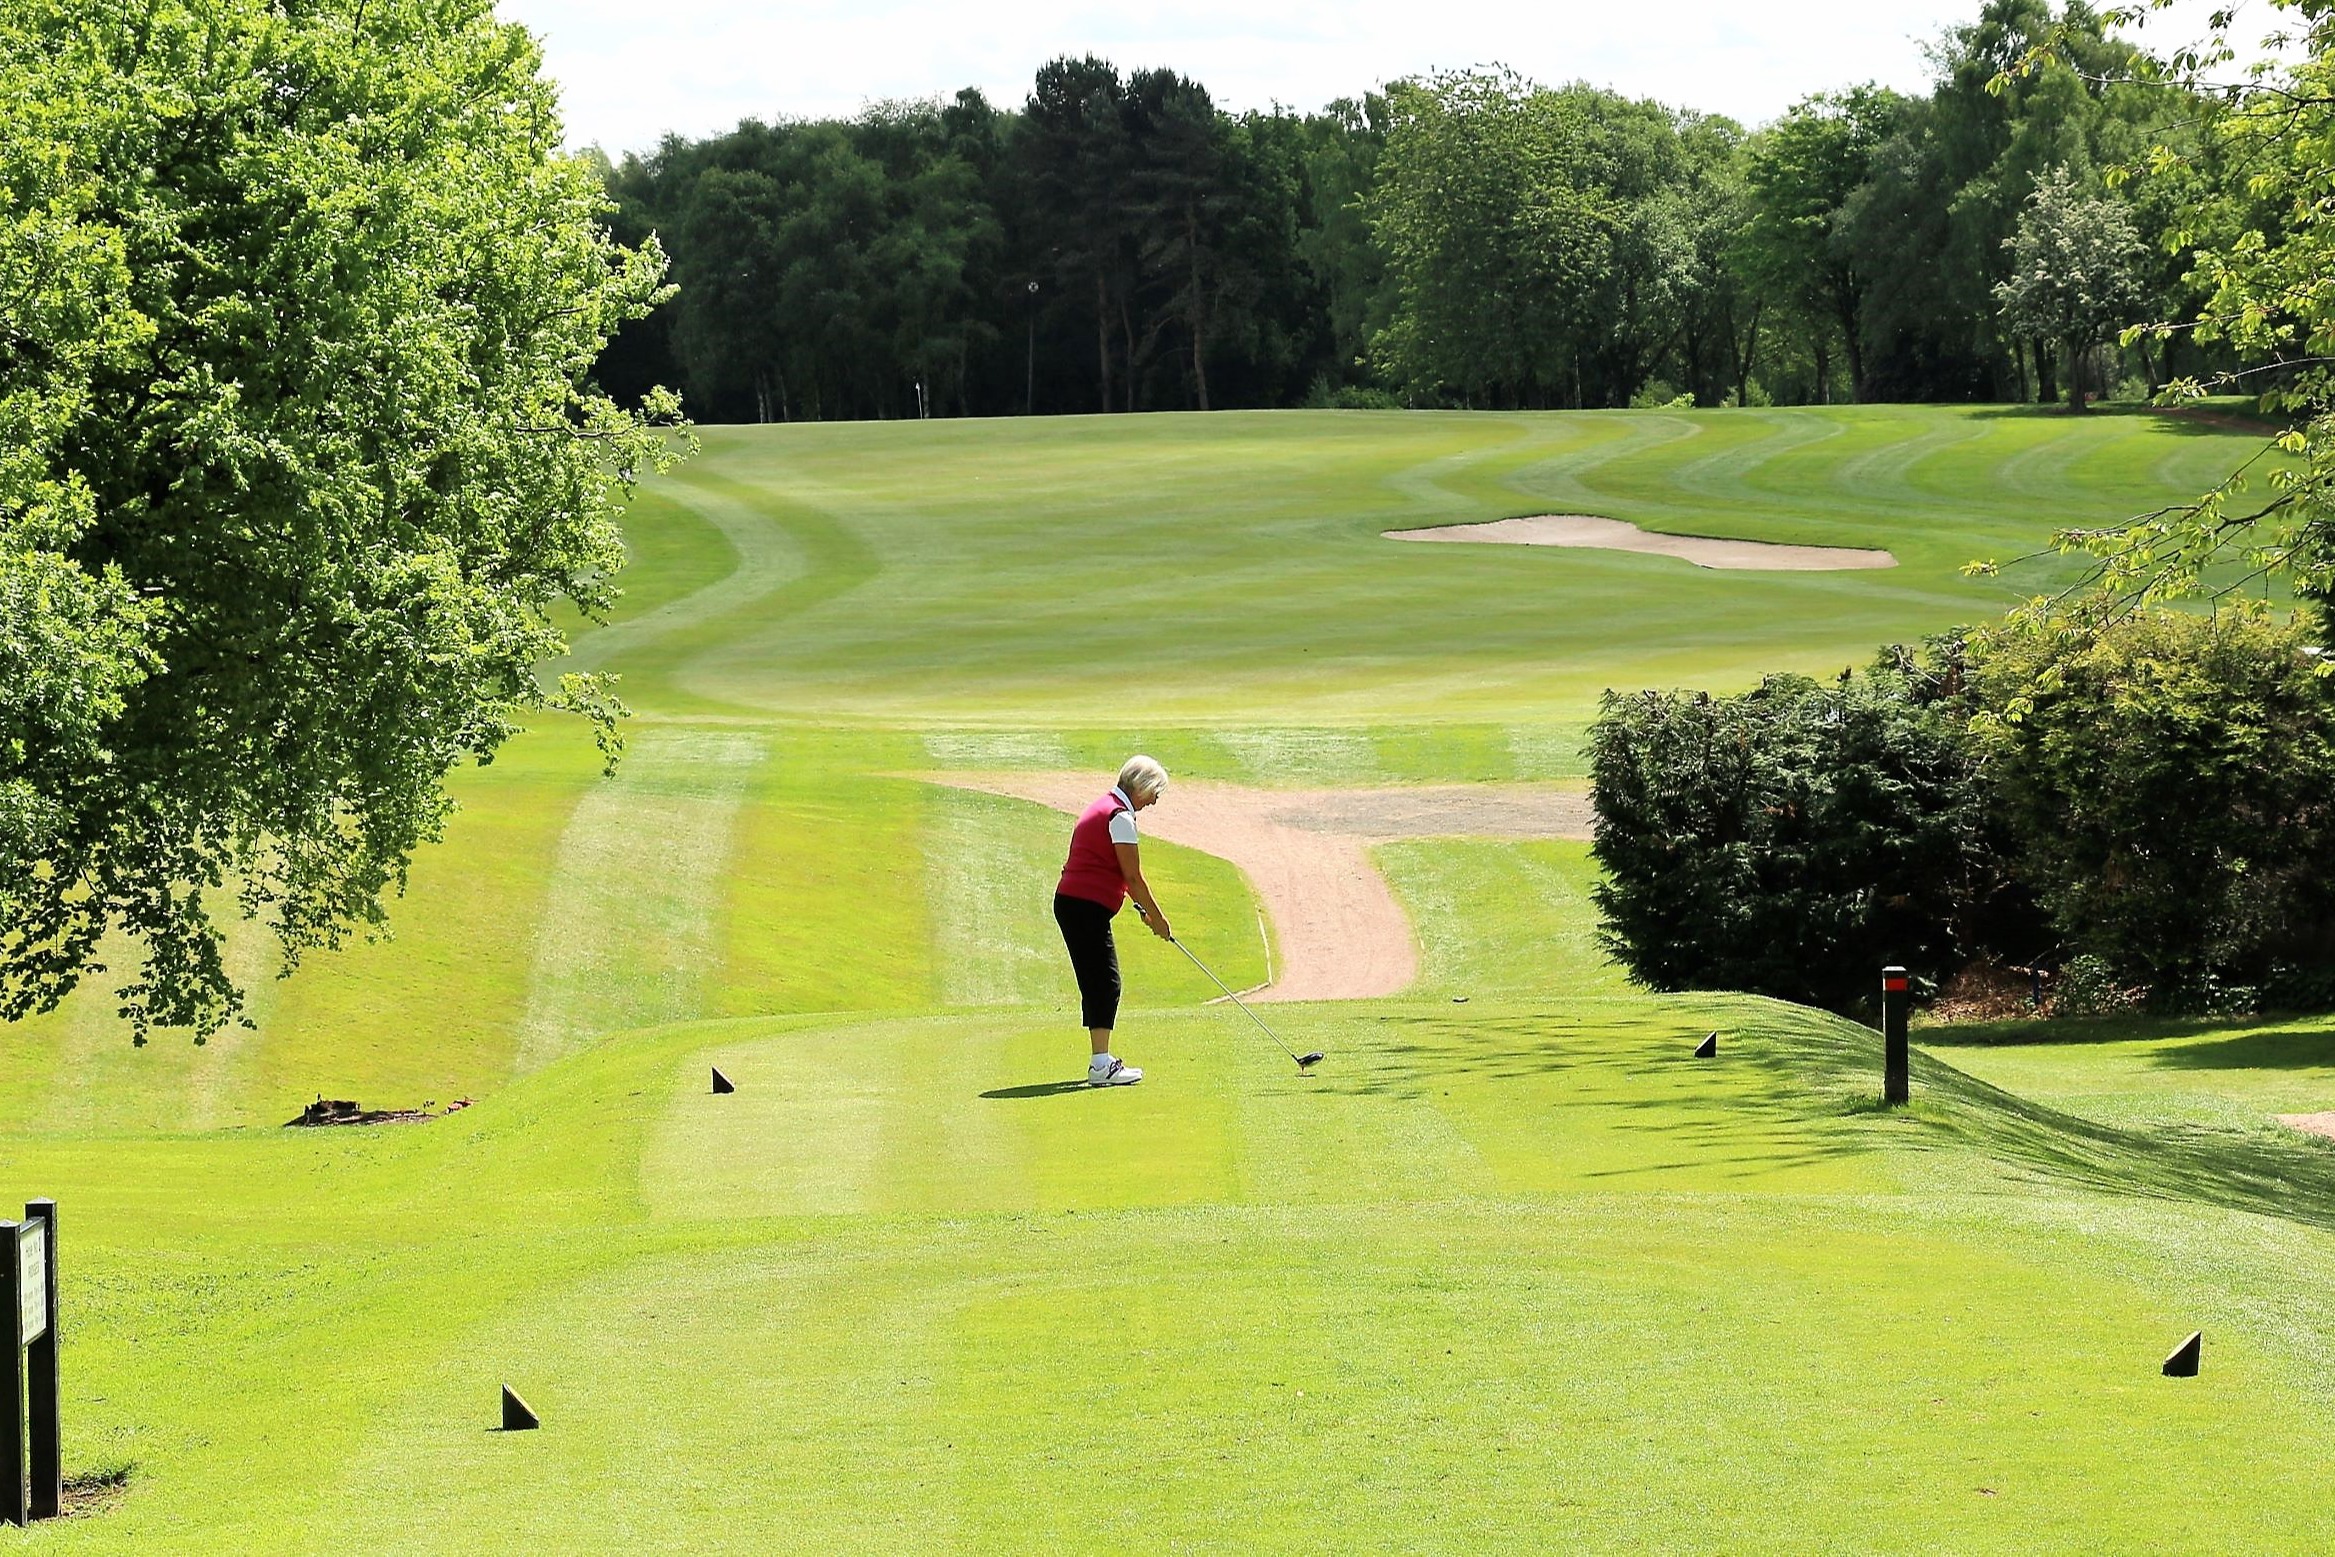
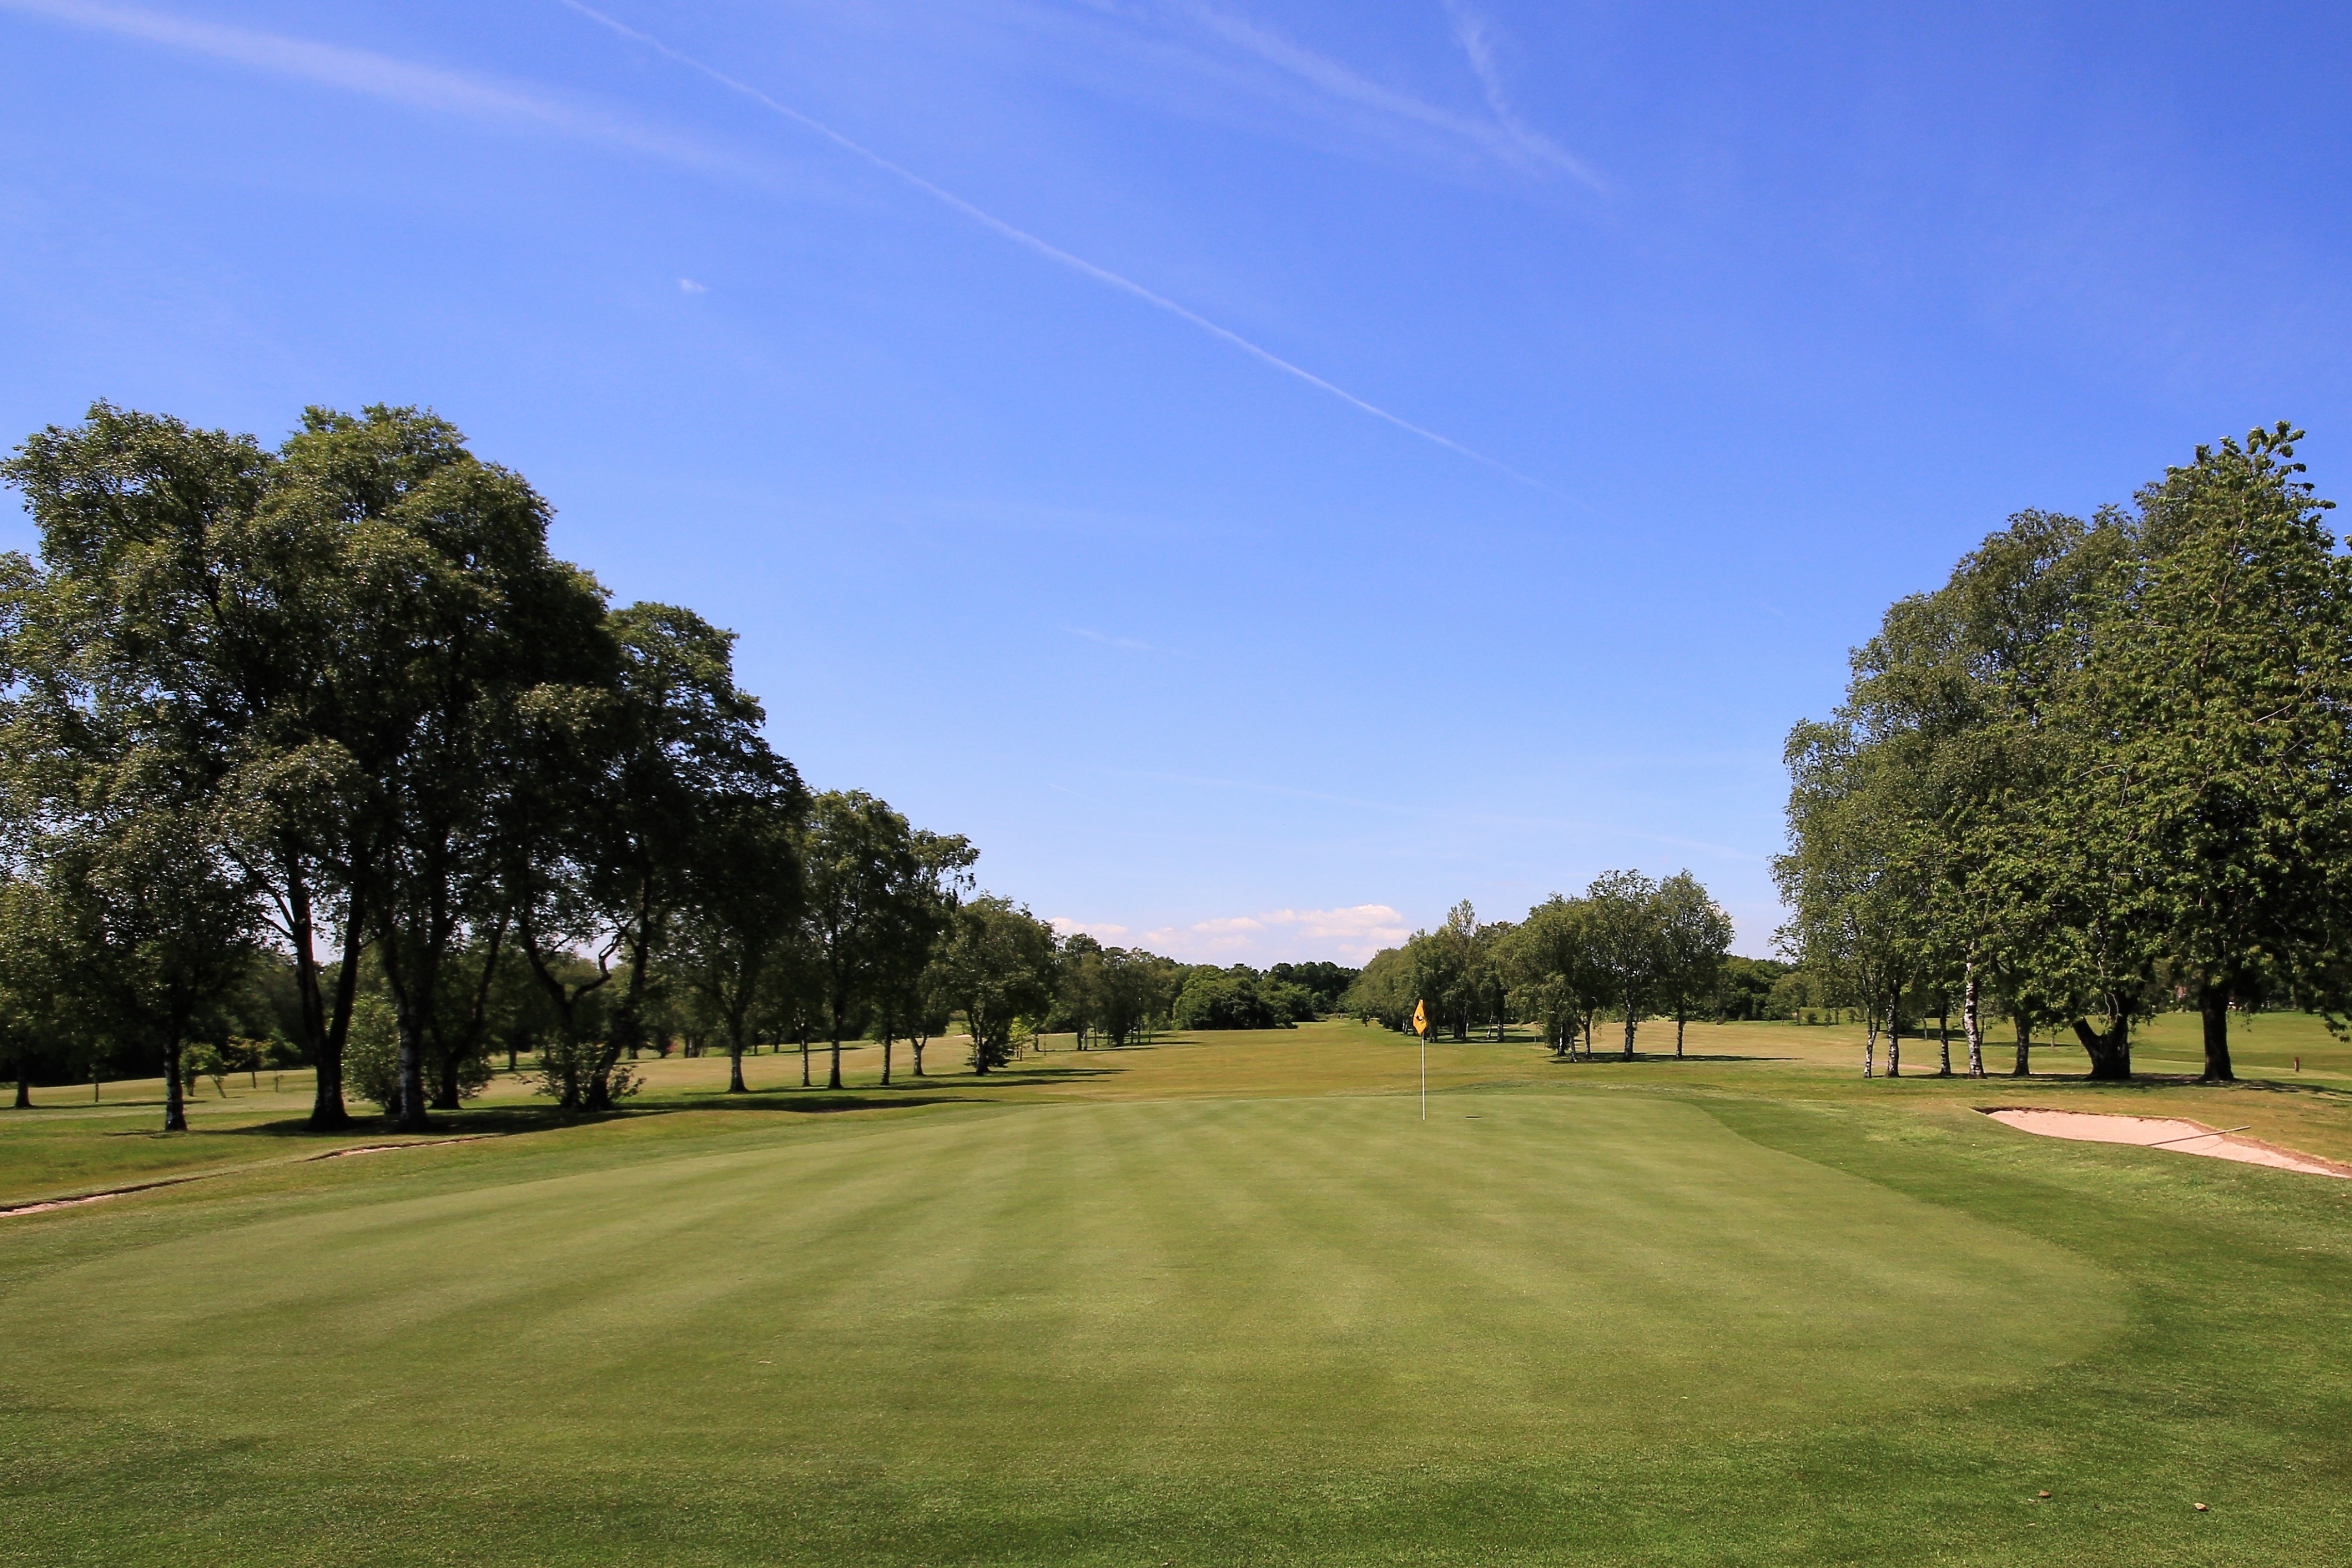
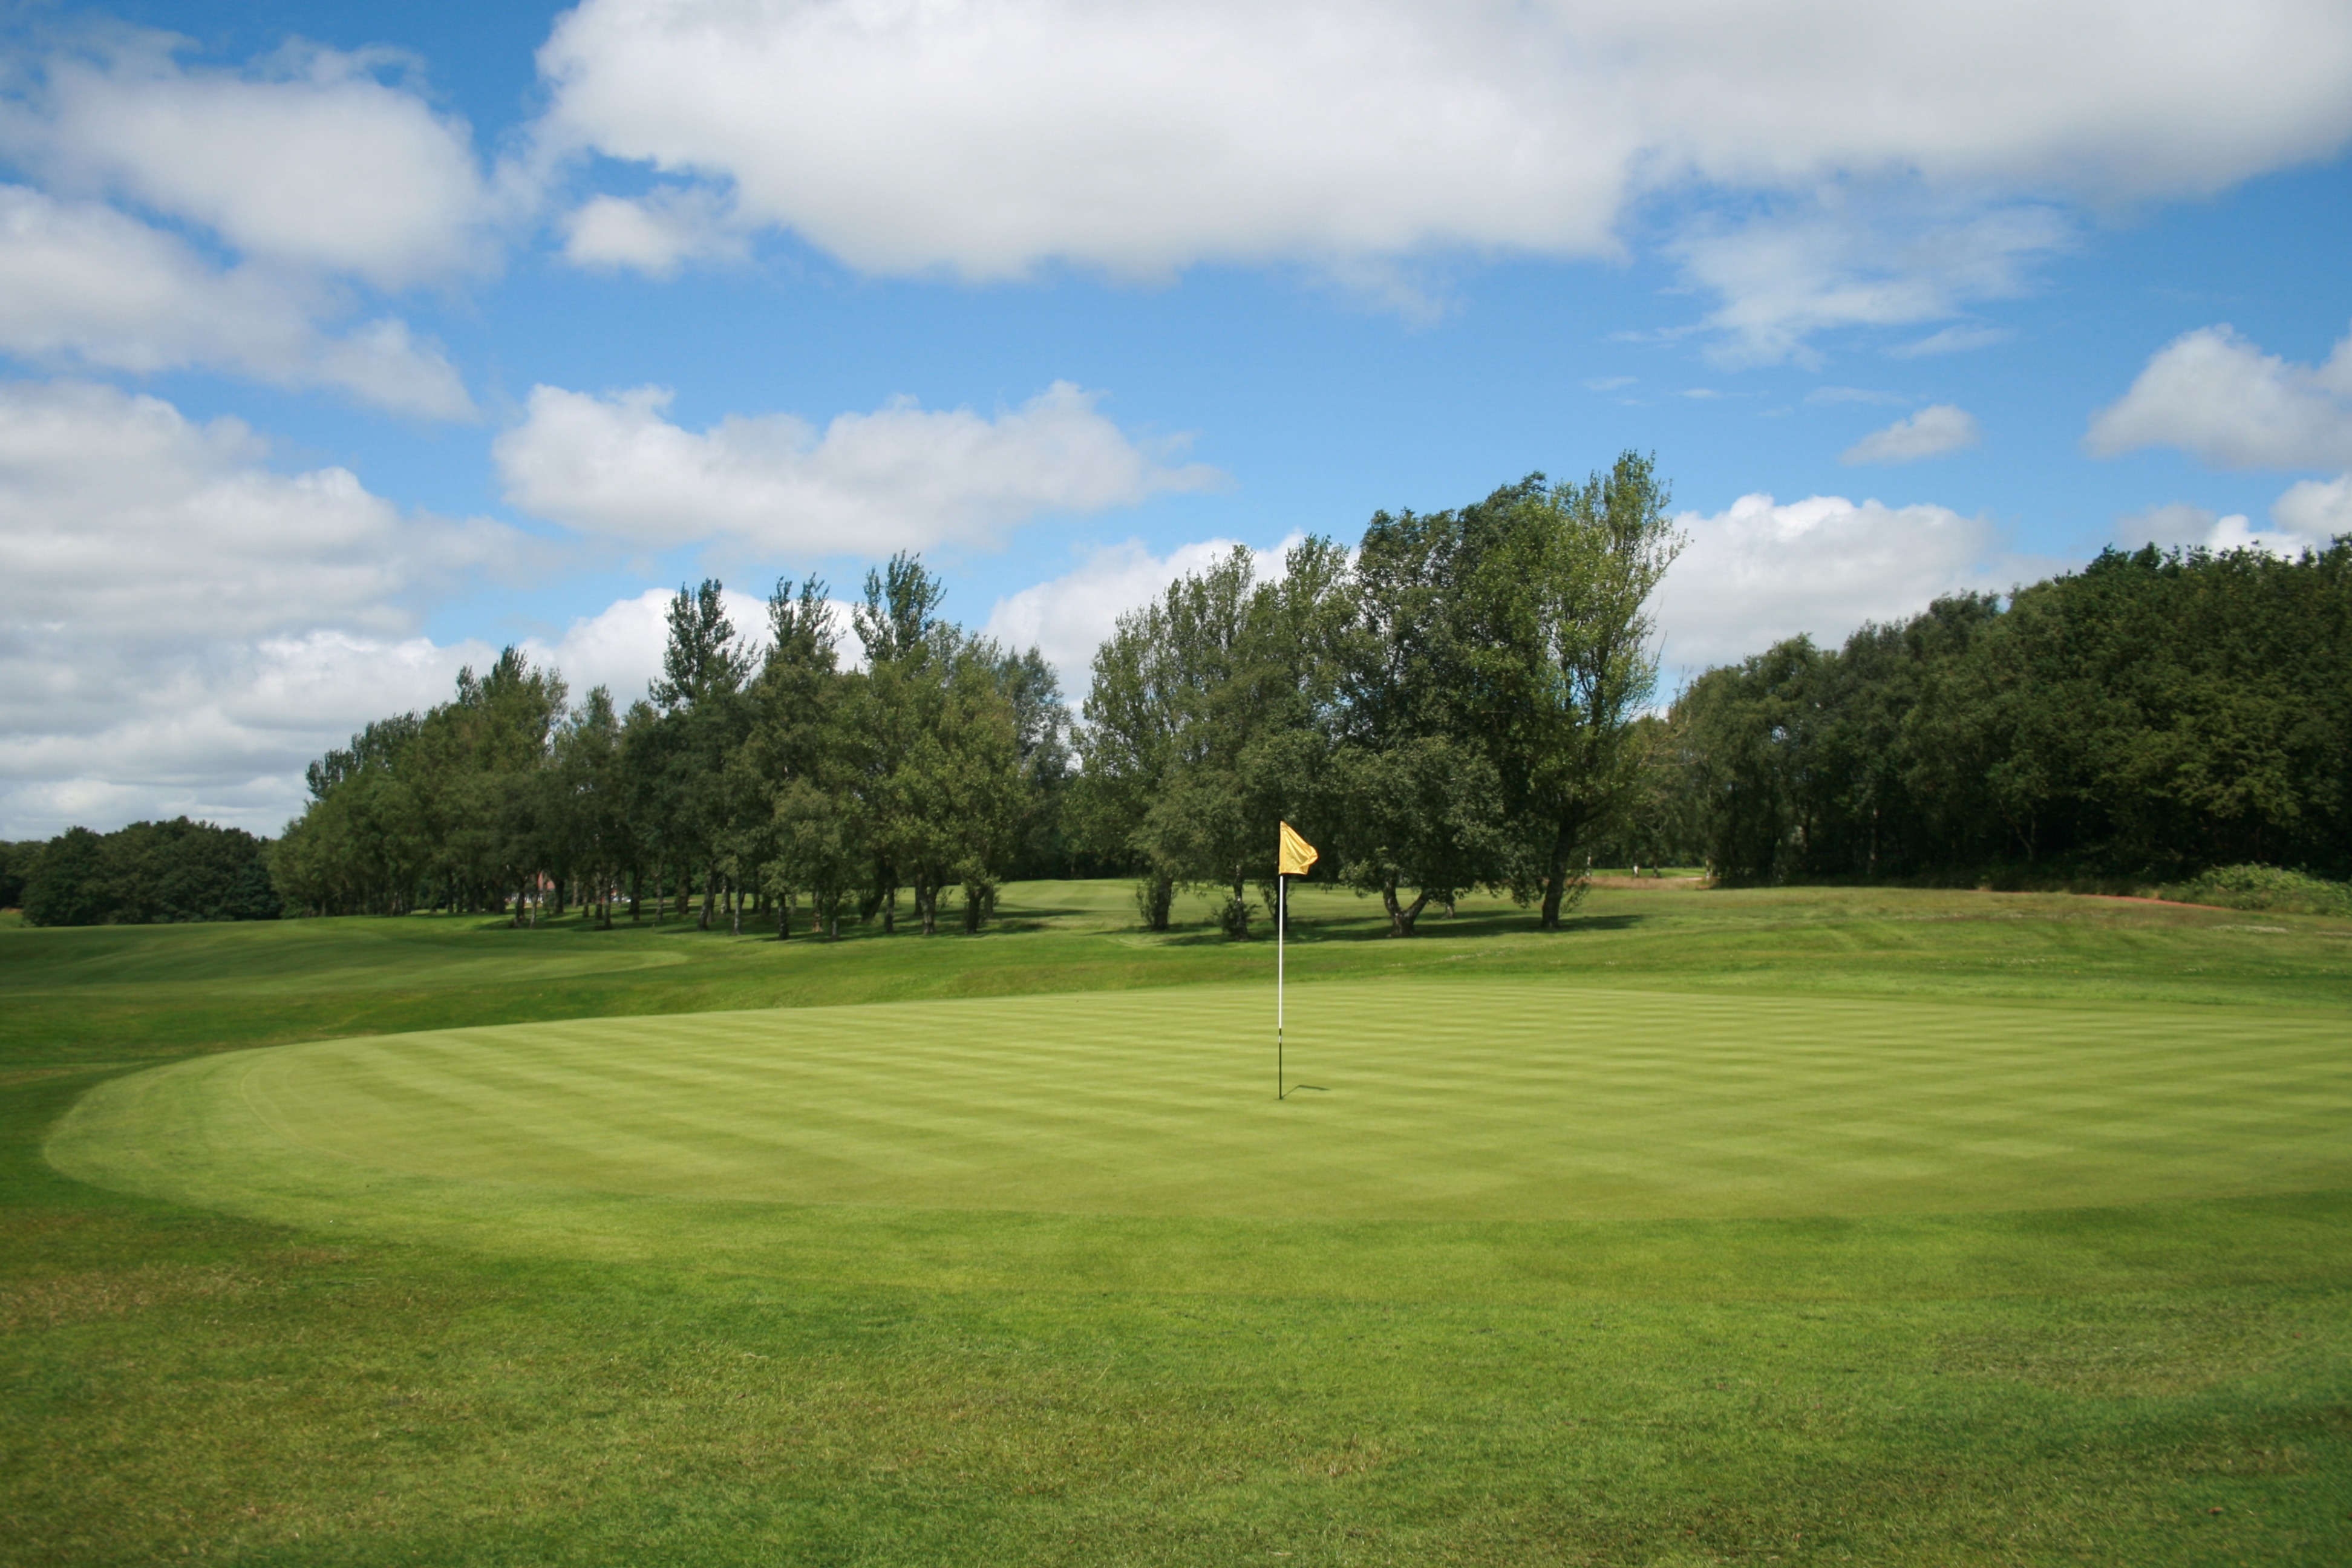
Course Gallery
×
❮
❯
Ellesmere 2025
White 25 M
Yards
Par
SI
1
162
3
16
2
397
4
6
3
500
5
10
4
257
4
18
5
369
4
12
6
414
4
4
7
347
4
14
8
432
4
2
9
178
3
8
OUT
3056
35
10
415
4
9
11
421
4
1
12
201
3
15
13
405
4
5
14
148
3
17
15
538
5
3
16
384
4
7
17
505
5
11
18
156
3
13
IN
3173
35
TOTAL
6229
70
Yellow 25 M
Yards
Par
SI
1
152
3
16
2
378
4
6
3
490
5
10
4
248
4
18
5
363
4
12
6
405
4
4
7
323
4
14
8
423
4
2
9
161
3
8
OUT
2943
35
10
408
4
9
11
407
4
1
12
201
3
15
13
379
4
5
14
148
3
17
15
536
5
3
16
359
4
7
17
501
5
11
18
146
3
13
IN
3085
35
6028
70
Red 25 W
Yards
Par
SI
1
148
3
14
2
359
4
6
3
419
5
2
4
130
3
18
5
352
4
4
6
389
5
12
7
324
4
8
8
369
5
10
9
103
3
16
OUT
2593
36
10
363
4
5
11
395
5
9
12
187
3
13
13
349
4
1
14
138
3
17
15
409
5
7
16
308
4
11
17
481
5
3
18
123
3
15
IN
2753
36
5346
72
Blue 25 M
Yards
Par
SI
1
115
3
14
2
285
4
10
3
349
4
6
4
129
3
18
5
253
4
12
6
301
4
8
7
236
3
2
8
272
4
4
9
95
3
16
OUT
2035
32
10
256
4
9
11
368
4
5
12
149
3
17
13
239
3
1
14
135
3
11
15
357
4
3
16
308
4
7
17
358
4
15
18
79
3
13
IN
2249
32
4284
64
Red 25 M
Yards
Par
SI
1
148
3
13
2
359
4
7
3
419
4
1
4
130
3
17
5
352
4
9
6
389
4
5
7
324
4
11
8
369
4
3
9
103
3
15
OUT
2593
33
10
363
4
12
11
395
4
2
12
187
3
10
13
349
4
6
14
138
3
16
15
409
4
4
16
308
4
14
17
481
5
8
18
123
3
18
IN
2753
34
5346
67
Blue 25 W
Yards
Par
SI
1
115
3
12
2
285
4
10
3
349
4
2
4
129
3
18
5
253
4
4
6
301
4
8
7
236
4
14
8
272
4
6
9
95
3
16
OUT
2035
33
10
256
4
9
11
368
4
3
12
149
3
17
13
239
4
5
14
135
3
11
15
357
4
1
16
308
4
7
17
358
4
15
18
79
3
13
IN
2249
33
4284
66
White 25 M F9
Yards
Par
SI
1
162
3
8
2
387
4
3
3
500
5
5
4
247
4
9
5
369
4
6
6
414
4
2
7
347
4
7
8
432
4
1
9
178
3
4
OUT
3036
35
10
0
0
0
11
0
0
0
12
0
0
0
13
0
0
0
14
0
0
0
15
0
0
0
16
0
0
0
17
0
0
0
18
0
0
0
IN
0
0
3036
35
White 25 M B9
Yards
Par
SI
1
0
0
0
2
0
0
0
3
0
0
0
4
0
0
0
5
0
0
0
6
0
0
0
7
0
0
0
8
0
0
0
9
156
0
7
OUT
156
0
10
415
4
10
11
421
4
5
12
201
3
8
13
405
4
3
14
148
3
9
15
538
5
2
16
384
4
4
17
505
5
6
18
156
3
7
IN
3173
35
3329
35
Yellow 25 M F9
Yards
Par
SI
1
153
3
8
2
384
4
3
3
494
5
5
4
247
4
9
5
365
4
6
6
409
4
2
7
326
4
7
8
428
4
1
9
166
3
4
OUT
2972
35
10
0
0
0
11
0
0
0
12
0
0
0
13
0
0
0
14
0
0
0
15
0
0
0
16
0
0
0
17
0
0
0
18
0
0
0
IN
0
0
2972
35
Yellow 25 M B9
Yards
Par
SI
1
0
0
0
2
0
0
0
3
0
0
0
4
0
0
0
5
0
0
0
6
0
0
0
7
0
0
0
8
0
0
0
9
0
0
0
OUT
0
0
10
408
4
10
11
407
4
5
12
201
3
8
13
379
4
3
14
148
3
9
15
536
5
2
16
359
4
4
17
501
5
6
18
146
3
7
IN
3085
35
3085
35
Green 25 M
Yards
Par
SI
1
152
3
16
2
370
4
6
3
490
5
10
4
130
3
18
5
265
4
12
6
390
4
4
7
315
4
14
8
375
4
2
9
160
3
8
OUT
2647
34
10
363
4
9
11
378
4
1
12
150
3
15
13
360
4
5
14
148
3
17
15
500
5
3
16
345
4
7
17
480
5
11
18
140
3
13
IN
2864
35
5511
69
Green 25 W
Yards
Par
SI
1
152
3
14
2
370
4
6
3
490
5
2
4
130
3
18
5
265
4
4
6
390
5
12
7
315
4
8
8
375
5
10
9
160
3
16
OUT
2647
36
10
363
4
5
11
378
5
9
12
150
3
13
13
360
4
1
14
148
3
17
15
500
5
7
16
345
4
11
17
480
5
3
18
140
3
15
IN
2864
36
5511
72
Blue W F9W
Yards
Par
SI
1
115
3
6
2
285
4
5
3
349
4
1
4
130
3
9
5
253
4
2
6
301
4
4
7
236
4
7
8
272
4
3
9
96
3
8
OUT
2037
33
10
0
0
0
11
0
0
0
12
0
0
0
13
0
0
0
14
0
0
0
15
0
0
0
16
0
0
0
17
0
0
0
18
0
0
0
IN
0
0
2037
33
Ellesmere 2025
White 25 M
Hole
Yards
Par
SI
1
162
3
16
2
397
4
6
3
500
5
10
4
257
4
18
5
369
4
12
6
414
4
4
7
347
4
14
8
432
4
2
9
178
3
8
OUT
3056
35
10
415
4
9
11
421
4
1
12
201
3
15
13
405
4
5
14
148
3
17
15
538
5
3
16
384
4
7
17
505
5
11
18
156
3
13
IN
3173
35
TOTAL
6229
70
Yellow 25 M
Hole
Yards
Par
SI
1
152
3
16
2
378
4
6
3
490
5
10
4
248
4
18
5
363
4
12
6
405
4
4
7
323
4
14
8
423
4
2
9
161
3
8
OUT
2943
35
10
408
4
9
11
407
4
1
12
201
3
15
13
379
4
5
14
148
3
17
15
536
5
3
16
359
4
7
17
501
5
11
18
146
3
13
IN
3085
35
TOTAL
6028
70
Red 25 W
Hole
Yards
Par
SI
1
148
3
14
2
359
4
6
3
419
5
2
4
130
3
18
5
352
4
4
6
389
5
12
7
324
4
8
8
369
5
10
9
103
3
16
OUT
2593
36
10
363
4
5
11
395
5
9
12
187
3
13
13
349
4
1
14
138
3
17
15
409
5
7
16
308
4
11
17
481
5
3
18
123
3
15
IN
2753
36
TOTAL
5346
72
Blue 25 M
Hole
Yards
Par
SI
1
115
3
14
2
285
4
10
3
349
4
6
4
129
3
18
5
253
4
12
6
301
4
8
7
236
3
2
8
272
4
4
9
95
3
16
OUT
2035
32
10
256
4
9
11
368
4
5
12
149
3
17
13
239
3
1
14
135
3
11
15
357
4
3
16
308
4
7
17
358
4
15
18
79
3
13
IN
2249
32
TOTAL
4284
64
Red 25 M
Hole
Yards
Par
SI
1
148
3
13
2
359
4
7
3
419
4
1
4
130
3
17
5
352
4
9
6
389
4
5
7
324
4
11
8
369
4
3
9
103
3
15
OUT
2593
33
10
363
4
12
11
395
4
2
12
187
3
10
13
349
4
6
14
138
3
16
15
409
4
4
16
308
4
14
17
481
5
8
18
123
3
18
IN
2753
34
TOTAL
5346
67
Blue 25 W
Hole
Yards
Par
SI
1
115
3
12
2
285
4
10
3
349
4
2
4
129
3
18
5
253
4
4
6
301
4
8
7
236
4
14
8
272
4
6
9
95
3
16
OUT
2035
33
10
256
4
9
11
368
4
3
12
149
3
17
13
239
4
5
14
135
3
11
15
357
4
1
16
308
4
7
17
358
4
15
18
79
3
13
IN
2249
33
TOTAL
4284
66
White 25 M F9
Hole
Yards
Par
SI
1
162
3
8
2
387
4
3
3
500
5
5
4
247
4
9
5
369
4
6
6
414
4
2
7
347
4
7
8
432
4
1
9
178
3
4
OUT
3036
35
10
0
0
0
11
0
0
0
12
0
0
0
13
0
0
0
14
0
0
0
15
0
0
0
16
0
0
0
17
0
0
0
18
0
0
0
IN
0
0
TOTAL
3036
35
White 25 M B9
Hole
Yards
Par
SI
1
0
0
0
2
0
0
0
3
0
0
0
4
0
0
0
5
0
0
0
6
0
0
0
7
0
0
0
8
0
0
0
9
156
0
7
OUT
156
0
10
415
4
10
11
421
4
5
12
201
3
8
13
405
4
3
14
148
3
9
15
538
5
2
16
384
4
4
17
505
5
6
18
156
3
7
IN
3173
35
TOTAL
3329
35
Yellow 25 M F9
Hole
Yards
Par
SI
1
153
3
8
2
384
4
3
3
494
5
5
4
247
4
9
5
365
4
6
6
409
4
2
7
326
4
7
8
428
4
1
9
166
3
4
OUT
2972
35
10
0
0
0
11
0
0
0
12
0
0
0
13
0
0
0
14
0
0
0
15
0
0
0
16
0
0
0
17
0
0
0
18
0
0
0
IN
0
0
TOTAL
2972
35
Yellow 25 M B9
Hole
Yards
Par
SI
1
0
0
0
2
0
0
0
3
0
0
0
4
0
0
0
5
0
0
0
6
0
0
0
7
0
0
0
8
0
0
0
9
0
0
0
OUT
0
0
10
408
4
10
11
407
4
5
12
201
3
8
13
379
4
3
14
148
3
9
15
536
5
2
16
359
4
4
17
501
5
6
18
146
3
7
IN
3085
35
TOTAL
3085
35
Green 25 M
Hole
Yards
Par
SI
1
152
3
16
2
370
4
6
3
490
5
10
4
130
3
18
5
265
4
12
6
390
4
4
7
315
4
14
8
375
4
2
9
160
3
8
OUT
2647
34
10
363
4
9
11
378
4
1
12
150
3
15
13
360
4
5
14
148
3
17
15
500
5
3
16
345
4
7
17
480
5
11
18
140
3
13
IN
2864
35
TOTAL
5511
69
Green 25 W
Hole
Yards
Par
SI
1
152
3
14
2
370
4
6
3
490
5
2
4
130
3
18
5
265
4
4
6
390
5
12
7
315
4
8
8
375
5
10
9
160
3
16
OUT
2647
36
10
363
4
5
11
378
5
9
12
150
3
13
13
360
4
1
14
148
3
17
15
500
5
7
16
345
4
11
17
480
5
3
18
140
3
15
IN
2864
36
TOTAL
5511
72
Blue W F9W
Hole
Yards
Par
SI
1
115
3
6
2
285
4
5
3
349
4
1
4
130
3
9
5
253
4
2
6
301
4
4
7
236
4
7
8
272
4
3
9
96
3
8
OUT
2037
33
10
0
0
0
11
0
0
0
12
0
0
0
13
0
0
0
14
0
0
0
15
0
0
0
16
0
0
0
17
0
0
0
18
0
0
0
IN
0
0
TOTAL
2037
33